Monday 12 September 2011

A Bachelorette Mini Album

Here's the bachelorette mini album I said I would post, I made this cute little album for a friends bachelorette. It didn't take very long to make it I ended up using a chipboard album from Micheal's and just added my paper and some ribbon.


A Mini album

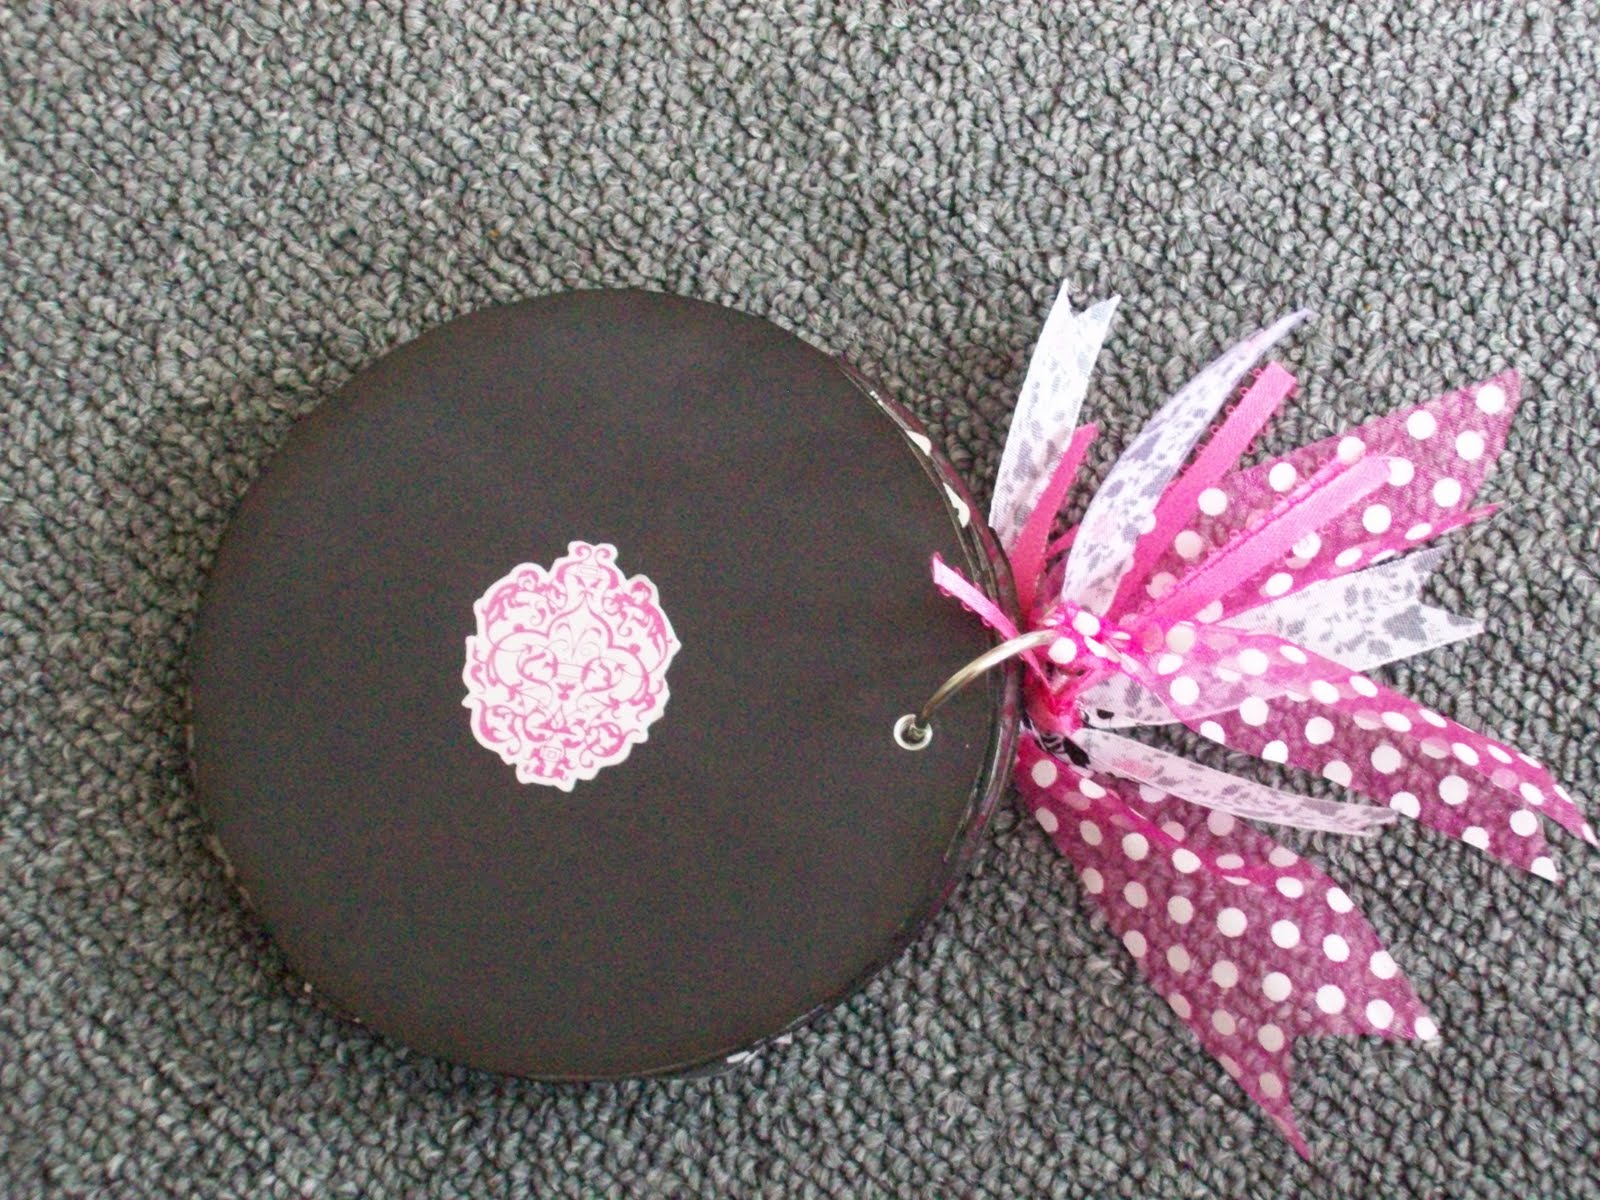
I made this mini album for my mother in law for her birthday, she had taken all the kids to the cottage this summer and I thought she could put some of those pictures in here. Not sure who makes the paper I had picked up this paper stack for only $5 at Walmart and it came with all the little chipboard cutouts too.
It's made with envelopes and cards and the cover with cereal boxes!
I really enjoyed putting this together and I just loved this paper! I have also made a bachelorette mini and I will post that next!

I have put a cute little flip flop charm on the back of the book from a necklace I had. What I like to do if I can't find charms to go with my paper from the craft stores I just go to a store like Claire's or Ardean's and grab a few necklaces that seem to fit, remove the charms and add them to the book also these stores always have 5 for $10 or even 10 for $10 sales so you could get a good assortment.


  A cute little butterfly charm

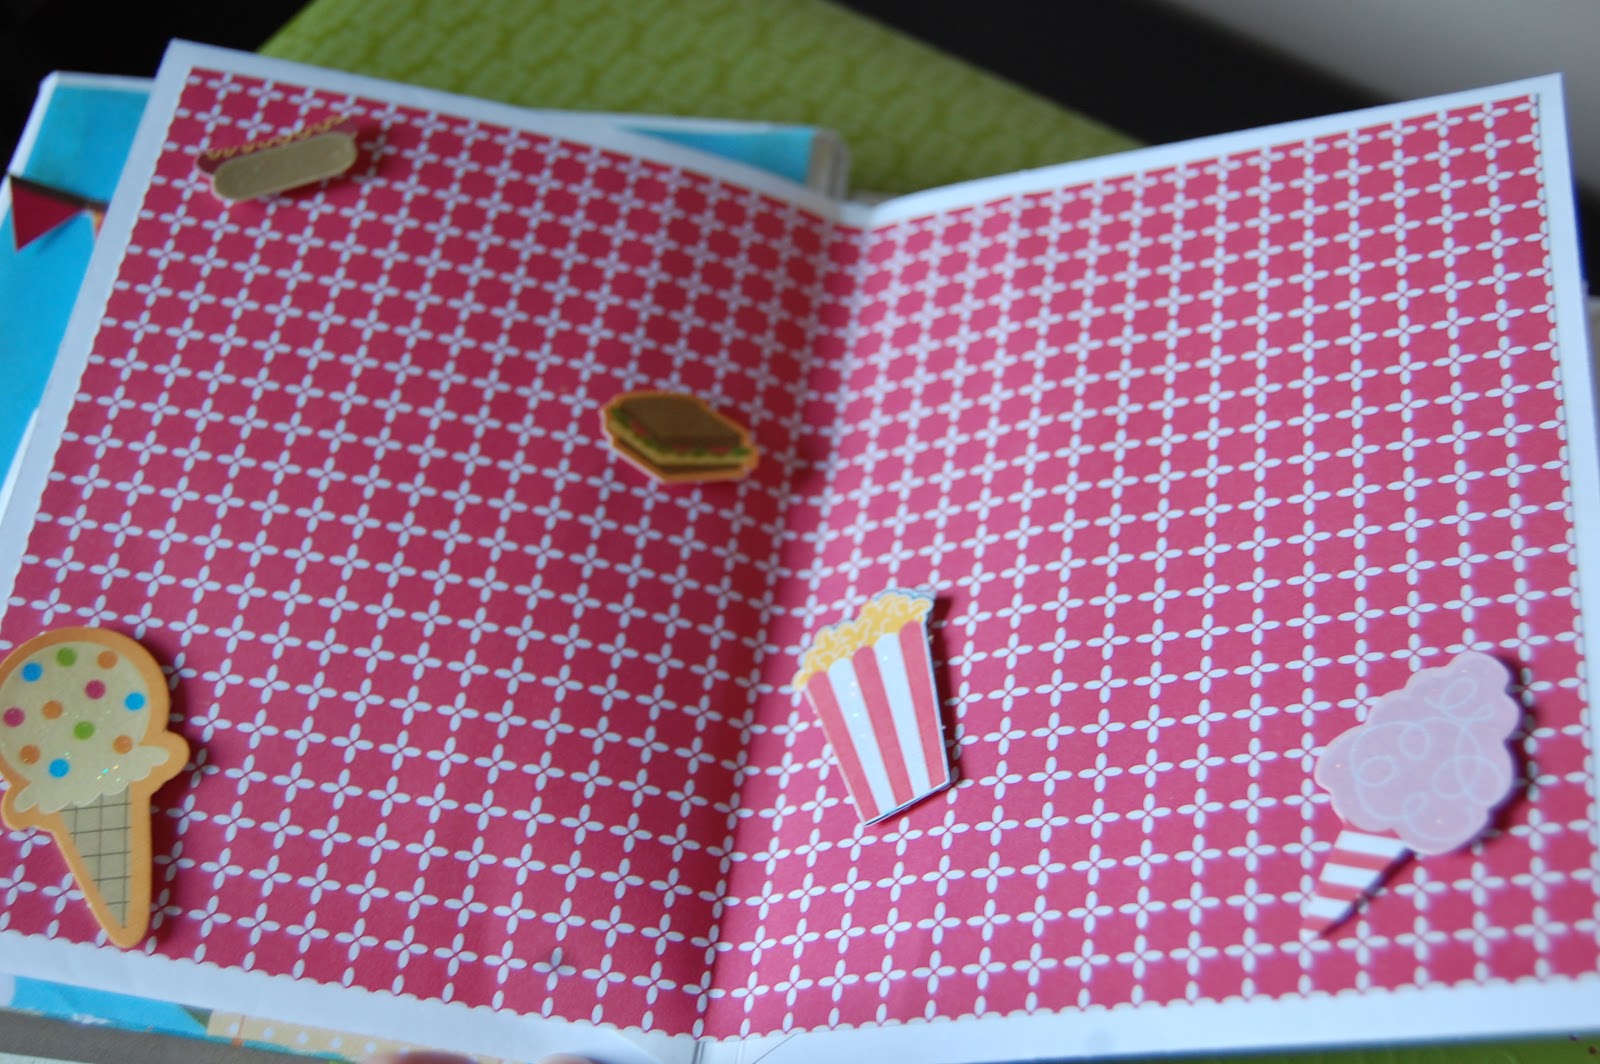
Each page has little 3D elements to it.
 Also each page has many spots for loads of tags to put pictures on.

 There is so much room for photo's here.


 As you can see there is lots of detail put into this book.


 I just love this page it's like a picnic blankets... so cute!


 Lots of pockets!


Here's is the side of the book I used duct tape as the binding.

Monday 8 August 2011

Cute Cupcakes

Hi everyone, Sorry it's been so long, it's been pretty crazy around here and I have so much to show you too!


Here's something I whipped up yesterday these cupcakes are made of felt, aren't they so sweet :) 
I've been making all sorts of felt food as I'm making a market for my kids for Christmas for our playroom and I thought instead of having all that plastic food which ends up being squished or chewed on I thought this way they couldn't really wreck it and will look so pretty.

Monday 4 July 2011

A little Scrappin

 I decided to dig out some old pic's of my daughter Lexie, she is only a year here and now shes nine, where does the time go. These pic's were taken just around the corner of my parents house at my old elementary school's play ground, unfortunately my parents no longer live there anymore but I should go re visit that old park some time.


 I'm hoping to get a few more projects up over the next few days as my blog is a little bare but I do have a ton of projects ready to go.


Paper: Stampin Up
Hearts: Bo Bunny

Misc: Cute heart pins

Saturday 2 July 2011

How to make a vintage flower headband


As this is my first post I thought I would do a tutorial on a vintage headband, It's very easy to make one of these and I'm sure after you make your first one you will want to make more.

-The first thing you will need will be fabric for the flowers I like the polyester, you will also need a candle, thread and needle plus scissors.

-For the headband part you will need some lace and or ribbon.

Now start by cutting six circles starting biggest to smallest and don't worry if they are not perfect circles it doesn't matter. If you want two flowers cut out another six circles.

 Then take one of the circles and put it over the flame just using the heat to melt the edges, do the same thing to each circle.

Then start with the largest circle and pile each one on top of the other to create the flower, you want to end with the smallest one. After put a stitch with your tread and needle to hold each flower together you can also use hot glue or a fabric glue.
Then cut your lace to the length you need to go around your head you can also use a plain headband.
Now you can either sew the ends of the headband together or attach ribbon to the ends to tie in a bow at the back of your head.
After the head band is ready for the flowers you will need to decide where you want to place them on the head band and sew each flower on with a stitch underneath.
After the headband should look like this.
I hope you had fun making this as much as I did!